What is a landscape photograph?


I think this is the most successful one because there’s alot going on in this picture, for example have captured 2 people taking a photo,i have a picture of a building and stairs connected to it, in both corners u can see tree branches peaking through. So thats the reason why i think its the most successful one i have taken out of the other 20 pictures i took.
Mind map explaining what landscapes are...
Today i created a mind map describing what landscapes are ,example of landscapes.

"Bad" landscapes
- not including the sky/land
- not focusing on a particular subject
- using things to block the landscape
- not listening to the rule of thirds
- not having the camera at a straight angle


As you can see today my task was to take “bad landscapes” around the school.
Ray Metzker
Ray Metzker's Pictus Interruptus series made in 1976-1981, show us landscapes and cityscapes disrupted by abstract forms. He achieved these effects by using object, held up between the camera’s lens and the subject. Metzker "exploits and exaggerates the properties of still photography, odd framing, mutiple expousures, deep contrast and in this series the interruption of various objects placed between the lens and the ‘subject’. Metzker seems to want to deliberately disorientate the viewer and question the indexical relationship between photography and the world." Source


Disrupted landscapes


I printed off 3 sheets of one of the best landscapes pictures i took in my first year 11 photography lesson. I then started to cut and rip out the pictures i printed out so you could only see certain parts of the background. In this pictures the sheet it disturbing the background of the photo. In all of these different photographs the camera is focusing on the background of the picture.


These pictures are also disruptive landscapes but with the camera i made it focus on the background of the picture or the sheet thats in front if the camera. I also took my friends paper and combined it with me so it looks like its repeating itself. As you can see i mainly focused it of the background of the photo
Liz Nielsen/Geraldo de Barros comparison


In the first picture its not really giving me any idea of what the picture could possibly be its giving me small details but what i can see on the left hand side it is a a quite large tree and on the right hand side i don’t actually know but im guessing it is a lamp post because it is very tall and skinny, the person who has made this design and photograph has made it quite difficult for viewers to figure out what it is but maybe thats what they are trying to do to make it more interesting for the people looking at the photo to actually wonder and use their imagination of what that picture could be. In the second photo it is more straightforward than the first photo you can clearly see that it is a tree with long branches with a few leaves on it and you can see that it has a black background and they cut out circles from the tree so you can see more of the background and it could be visible. I think out of both of the photographs the only one that i find quite unusual is the first photo. My reason for this is because it looks like a 5 year old has done this but i think thats what there idea was and to also make it look unusual and for people to actually think about what the photograph could be. I think the main reason why i think this one is unusual is because i havent seen a photograph like this before and someone design a picture like this before but i think it’s actually cool. When i look at both of the photos i either feel like im using my imagination alot and i feel confused on what im looking at or i either feel that i know what im seeing with my eyes because of how straightforward and simple it is and i dont even have to to use my imagination on what it could be. I would attempt by making the first picture by getting 1 black A4 carboard paper and 1 A4 plain paper and then just think of what i could create by cutting out the black carboard, but i wouldnt make it too hard for the people seeing it but at the same time i wouldnt make it simple for them i would want them to actually wonder and think what i have created, everyone could think all different possibilities of what the photograph could be and thats what i would be trying to aim for. I think the reason why the taken parts of the photograph was to show parts of the background because they could want to focus on the background when they are taking the picture or it could make the picture look more interesting and not so simple and boring. I think both pictured look great but in my opinion i think the first picture is the best. My reason for this is because it makes me actually wonder what it could be and i was more eye catched by that picture more because the other photograph is just a tree with some parts cut out but with the first picture they have cut out different shapes and sizes and turnt it into something but you have to figure out what you think the photographer has created by using your imagination , the main reason why i like it is because it’s something different and i dont think i have seen a photograph or design like this before.
Paper collages


In todays lesson we looked at Liz Nieslen collages. I created my own collage which was inspired by liz Nielsen collages. I tried to create a beach scene, so starting off with bottom right hand corner of the collage i tried to create some pebbles because not all beaches have sand, then on the bottom left corner i tried to create the sea and when i pointed it a little higher up i tried to create a wave and then i tried to make a palm tree in the pebbles i also mad it seem like it was night time by adding stars and a moon.
Brea Souders
Brea Souders is an artist approaching photography from a conceptual perspective. She goes on google maps and looks at the 360 pictures that people have taken and she try’s to find glitches from the pictures.


Ghost feet
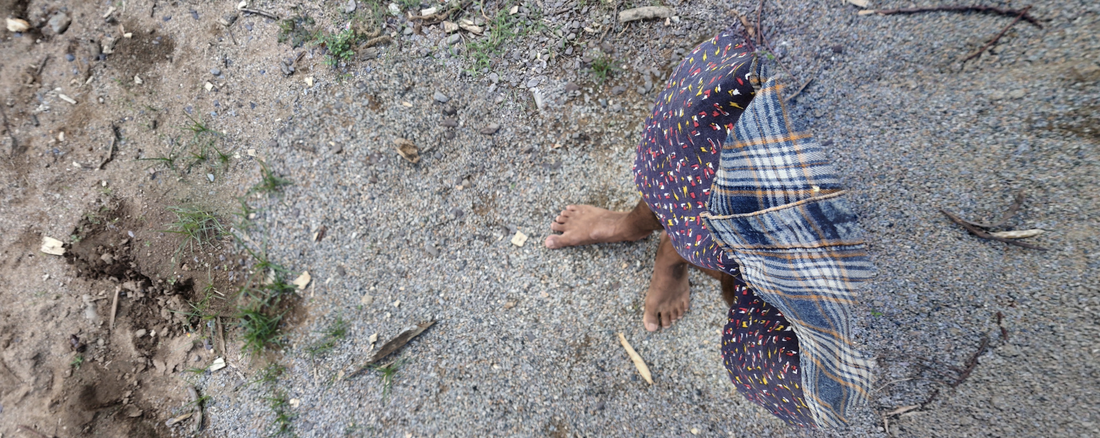
when i searched 360 degree in google maps i found bits of people where the stitching was taken. Glitches on google maps
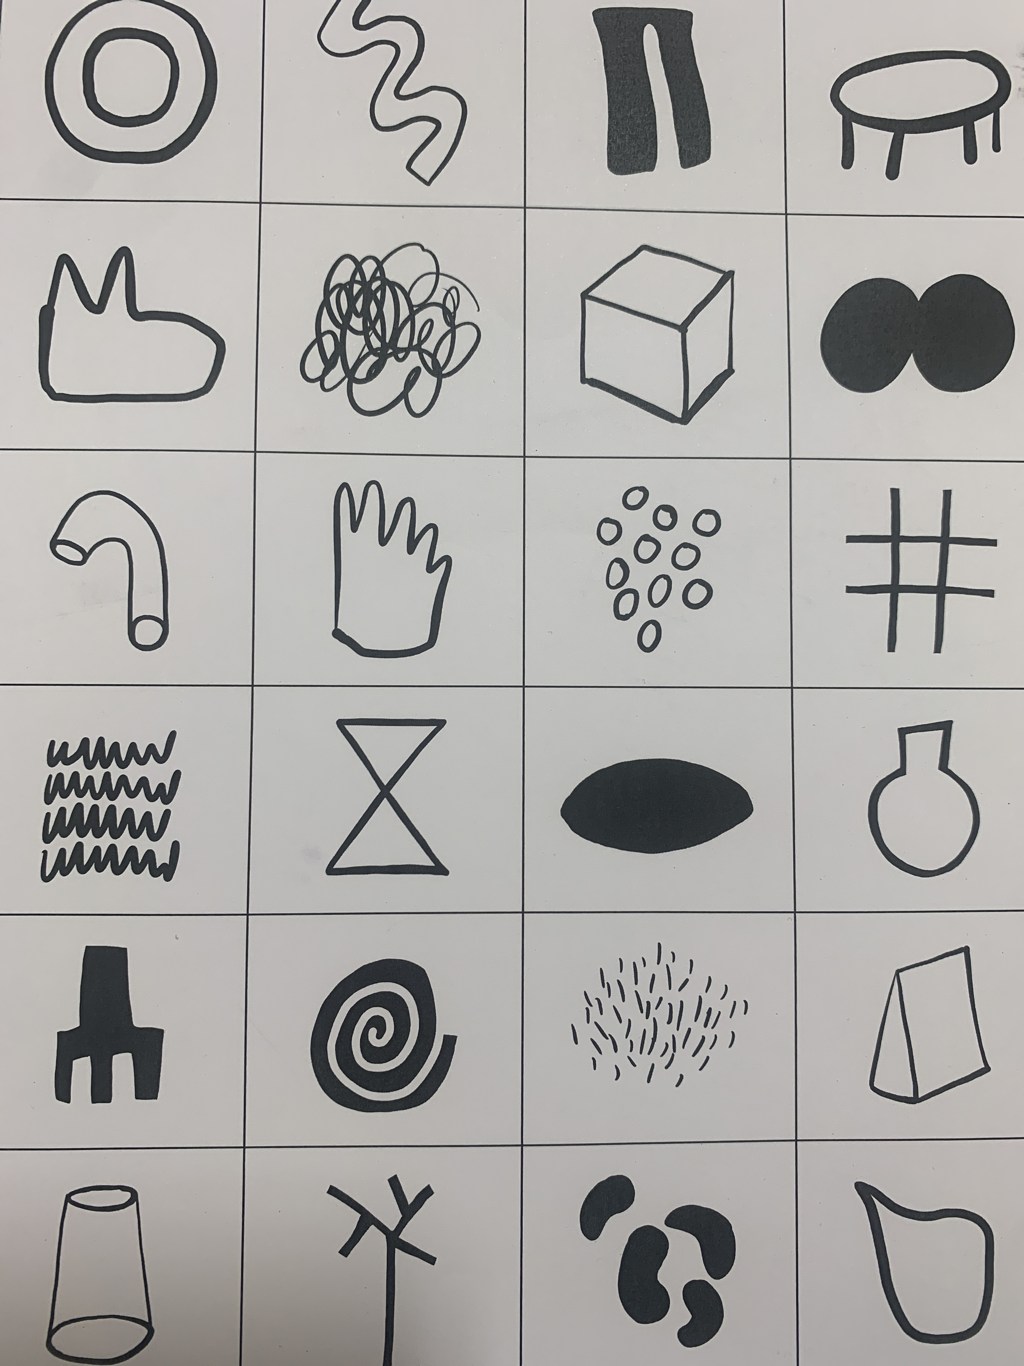
Abstract advent


Constructed Landscape Slide


|
|


So for the past few weeks in photography, i have been fiddling and creating my own constructed landscape slides. I made a video of me projecting my picture on the board by a projecter and i also collided it with a OHP which is an over head projecter. The video down below is the slide i made if you would like to look at it and see me fiddling with the different little objects just go ahead and watch it.
Alice Cazaneve workshop


In this workshop by Alice Cazaneve we learnt how to make chemigrams using chemicals made from plants rather than large industrial factories, as a way to combat the environmental damage photography continues to cause. So we started of by making a developer by heating rosemary in a pan of boiling water for 10 minutes to create the most optimal developer. You can use a variety of different shape or colour of plants to give you different content each chemigram. After you boil the plants we strained the mixture using a cheese cloth and left it to cool down. Then we added 5 grams of vitamin C tablets which can be bought in supermarkets or pharmacies as well as 50 grams of sodium carbonate. To make sure the developers react quickly enough, we had to check the temperature and pH balance of it as low temperature make for a very slow development time. You then use a thermometer we measured the temperature, usually you would want it to be at 24 degrees celsuis. We then checked the pH balance using a piece of litmus paper. Then u gently dip the paper into the developer and measure the colour of the part of the paper that has partially dried rather than it being soaking wet. Ideally you are looking for a pH of level 10. After the developer was made we started to experiment. We used all different kinds of bases for the chemigrams such as suncream, olive oil, tape, and vaseline. You could also use expired food and cosmetic products which means this method enables you to limit your waste. A method i tried was collecting leaves, daisy flowers from outside that i then imprinted suncream onto my photographic paper. This created some more texture and different variations of shapes. The reason why i wanted to use the daisys was because i wanted to see if they would imprint the flower shape on the photographic paper and it kinda did but what it mainly did was that the disc floret of the flower (middle) absorbed into the chemicals and made variatys of texture and colour on the photographic paper.
Personal project

|

|
Through out my photography experiment i decided to work with collaging and mono printing. I created certain in sections to create this effect. The meaning behind the white dots in the second collage is to see every detail in all the different pictures, it is basically like dot to dot. I wanted to paint on the dots because i felt as if it makes the collage more noticeable where as without the dots you couldnt notice the small details in the picture and take it in.
Mono printing


Mono printing is a very simple but effective method of printmaking. Mono means ‘alone’ in Latin. So you will be creating single unique prints. Mono prints often combine the spontaneity of printed inks and paper, creating a surface that is unlike any other art. Mono prints are known as the most painterly method among the print making techniques, it is often regarded as a printed painting.
Constructed Landscape Evaluation
The theme that I explored this year is Constructed landscapes. My first thoughts about constructed landscapes was that I just thought we would be taking pictures in a landscape angle or just making a landscape collage, but actually there was more to it. Constructed landscapes are when you explore the different complex relationship between urban space, capitalist production and politics particularly concerning r the ways in which objects, spaces and ideas are transformed in the process of capitalist urbanization. As I started to learn more about constructed landscapes I realised that most of the time we take it based on the beauty of the view and the memorys behind the photograph. During this project I have researched an artist that inspired me with her work and that was Brea Souders. Brea Souders has showed me you dont have to just take pictures by using an actual camera she showed me that I can use google maps to take different photographs of different areas. I found out about Brea Souders because we had to do research about her for our homework and i was actually really fascinated by her work. Another thing i loved about her photographs were that it wasnt even mainly based on views she also took pictures of her shadows and in one of them it made it look like her shadow was split in half and i was so interested by that. One of the big ideas about photography that i tackled was making my Personal Project. My reason for this is that i had so many ideas but it was so hard to plan it all out in reality and i kept doubting myself but it all turned out how i wanted it and all i had to use was my imagination and just really put my mind into it.
